
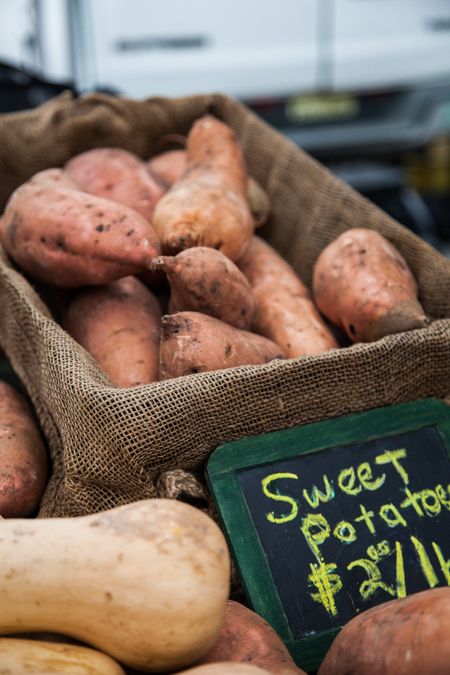
Sweet potatoes often go through an identity crisis; are they a type of potato? Are they the same as a yam? Some sweet potatoes are advertised as yams, but true yams aren’t even grown in the continental United States! To add to the confusion, the oca plant (Oxalis tuberosa) is called a “yam” in other parts of the world. And why are they so sweet?
So what is a sweet potato?! To set the record straight, the sweet potato (Ipomoea batatas) is a very distant relative to the potato (Solanum tuberosa) and is equally botanically distinct from a genuine yam (Dioscorea batatas). Native to Central and South America, it is the only crop plant of major importance in its botanical family with most of its family members being poisonous. It is characterized by its large, starchy, sweet, tuberous root eaten as a vegetable that can range in colors between yellow, orange, red, brown, purple, and beige. In Central Texas, the best varieties to grow are Beauregard, Centennial, Georgia Jet, and Jewel.
Sweet potatoes are only grown from true seeds for breeding purposes, so most home gardeners produce transplants, or “slips,” that are grown from a mature sweet potato purchased at a local nursery or grocery store. Each sweet potato can produce up to 50 slips. To create these slips, place large sections of the sweet potato in a jar of water with half below the water and half above. Use toothpicks to hold the potato in place in a sunny location or near a radiator. In a few weeks, your potatoes will be covered with leafy sprouts on top and roots on the bottom. When these roots reach one inch in length, the slips can be planted. Start making slips in February and March (well after the last frost) for a planting in April to be harvested in late summer.
Sweet potatoes need loose, well-drained soil to properly form large tubers belowground with little resistance. Dig holes about 4-5” deep and 3” wide, and place one slip in each hole with the roots pointing downwards. Make sure that the bottom half of the slip with the roots is covered in dirt and the leaves are above ground. Sweet potatoes are very susceptible to bruising, so be careful to fill the hole with dirt so as not to bruise the new plant. When you have completely covered the slip with soil, gently press the surrounding dirt to remove any remaining air pockets, but gently enough to not compact the soil surrounding the roots. Keep sweet potatoes well-watered for the first week and consistently watered after that – sweet potatoes can withstand drought but they’ll produce less, so make sure you water them during the hottest part of the summer.
Sweet potatoes require 100 to 140 days from planting to maturity to harvest proper tubers. Make sure to harvest before the first frost because cool conditions can physiologically damage the roots. After harvesting, sweet potatoes should be dried and cured to allow them to be stored for several months.
Sweet potatoes ranked highest in nutritional value with compared to the nutritional value of other vegetables, and are extremely rich in complex carbohydrates, dietary fiber, beta-carotene, vitamin C, vitamin B6, manganese, and potassium. The sweet potato is used in cuisines from every continent: sun-dried for breakfast and served with peanut sauce in Uganda; baked in large iron drums and sold as street food during the winter in China; and baked into a traditional sweet potato-based dessert, Dulce de batata, in Argentina, Paraguay, and Uruguay.
Since it’s not time to harvest sweet potatoes, this soup can be made with a medley of different root vegetables that can be found at the SFC Farmers’ Markets or your garden!